Import Cartridges
- Download the cartridge source code.
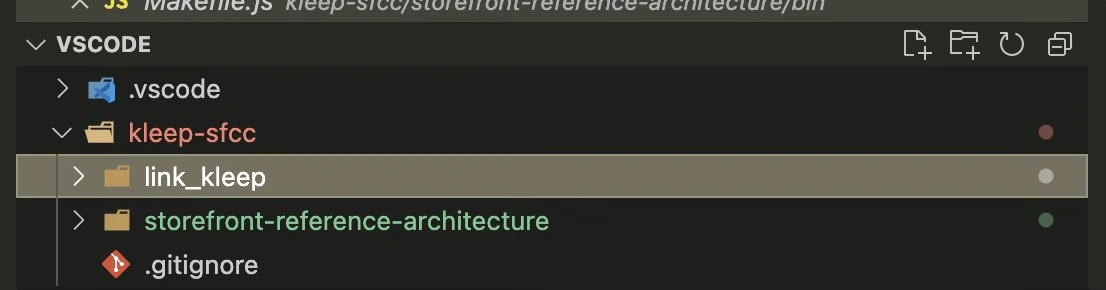
- Extract the directory and move the link_kleep folder at the same level as SFRA.
- You can remove the SFRA project from the Kleep connector (
storefront-reference-architecturefolder) — it is only used for testing.

- Install dependencies:
- Compile the frontend:
- Create a
dw.jsonfile in the same directory:
- hostname — your sandbox, e.g.
zzaa-001.sandbox.us01.dx.commercecloud.salesforce.com - username / password — your account manager credentials
- version — the active code version in Administration > Code Deployment, e.g.
version1
- Upload the cartridges:
- Go to Administration > Development Setup > Folder Browser > Cartridges and verify the upload.
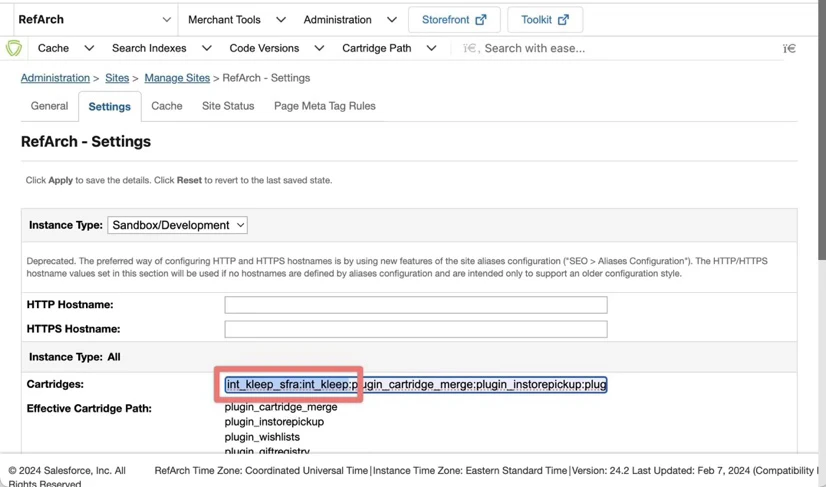
Assign Cartridges to the Site
- Go to Administration > Sites > Manage Sites. Select your site from the Storefront Sites list:

- Select the Settings tab. At the beginning of the cartridge path, add:
int_kleep_sfra:int_kleep
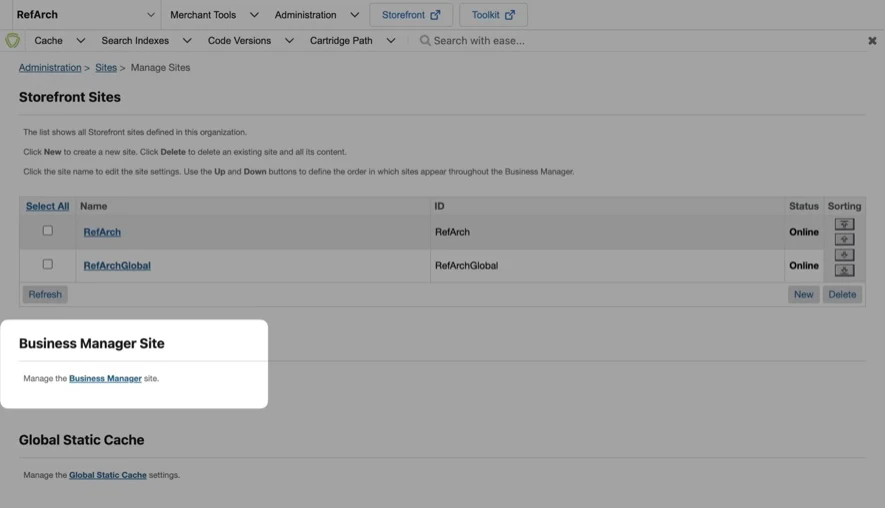
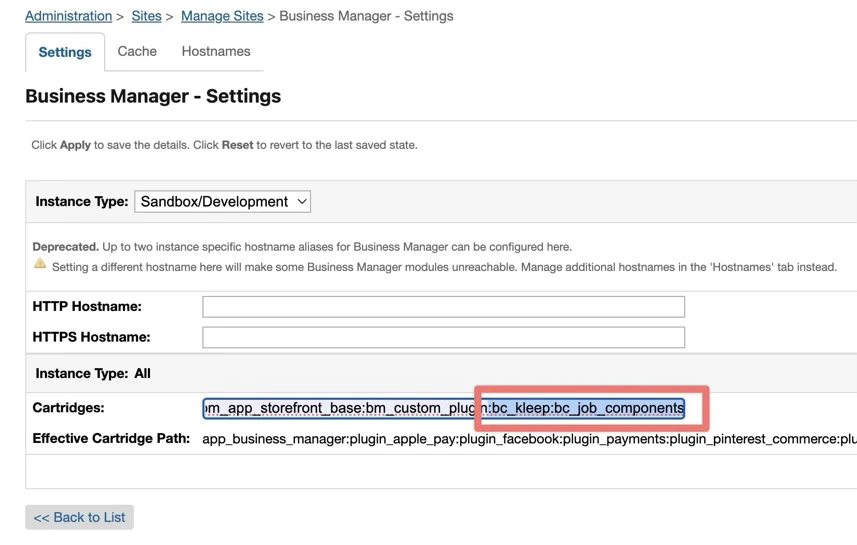
- Go to Administration > Sites > Manage Sites and click the link in the Manage the Business Manager site section.
- Enter
bc_kleep:int_kleepin the Cartridges textbox (separated by:if using multiple cartridges):
Import Metadata
- Go to Administration > Site Development > Site Import & Export.
- Upload
kleep-metadata.zipcontaining the metadata folder.
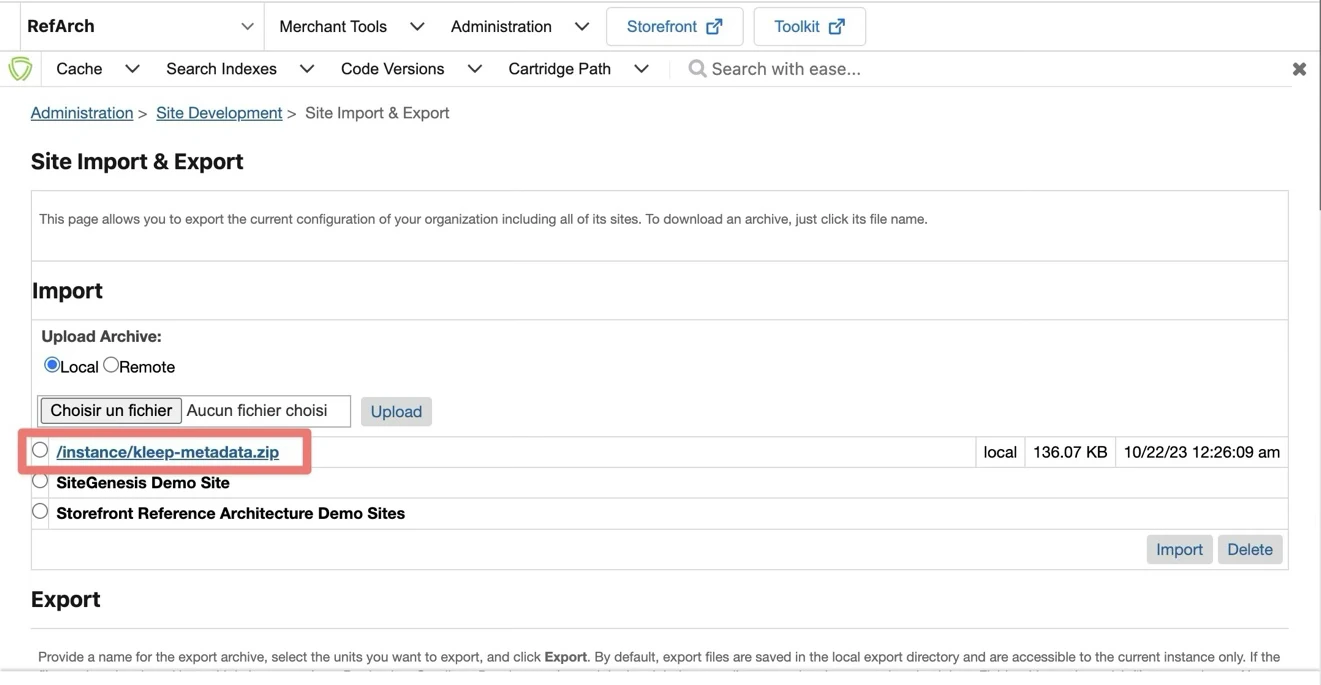
- Select
kleep-metadata.zipand finish the import.