Custom Site Preferences
After metadata import, go to BM > Merchant Tools > Site Preferences > Custom Preferences.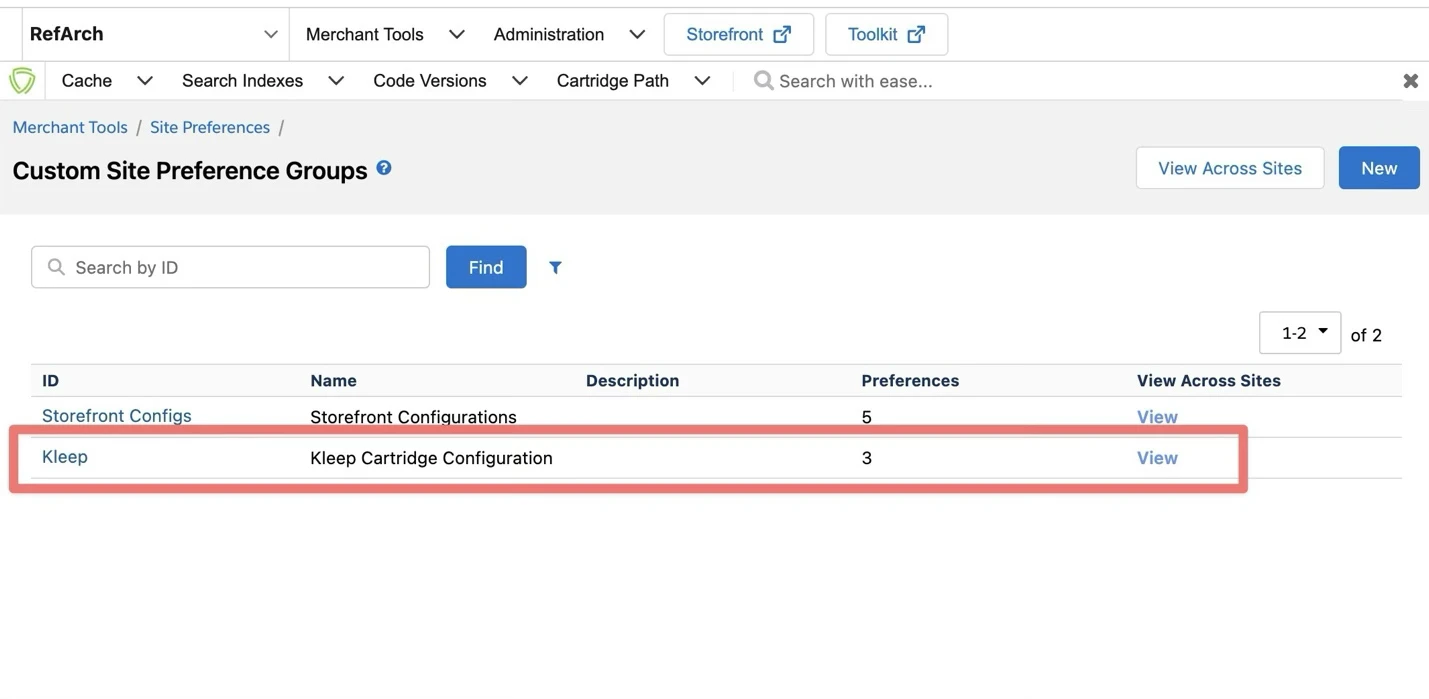
| Preference | Description |
|---|---|
kleepRetailerUUID | Mandatory. Unique identifier for your retailer on the Kleep platform, provided by your Kleep Account Manager. Must be entered manually — it is sent in every Kleep API call and used as the domain parameter of the Recommendation iframe to resolve your account. No automatic fallback: if left empty, tracking, the Recommendation feature and the iframe will not work (a configuration error is raised). |
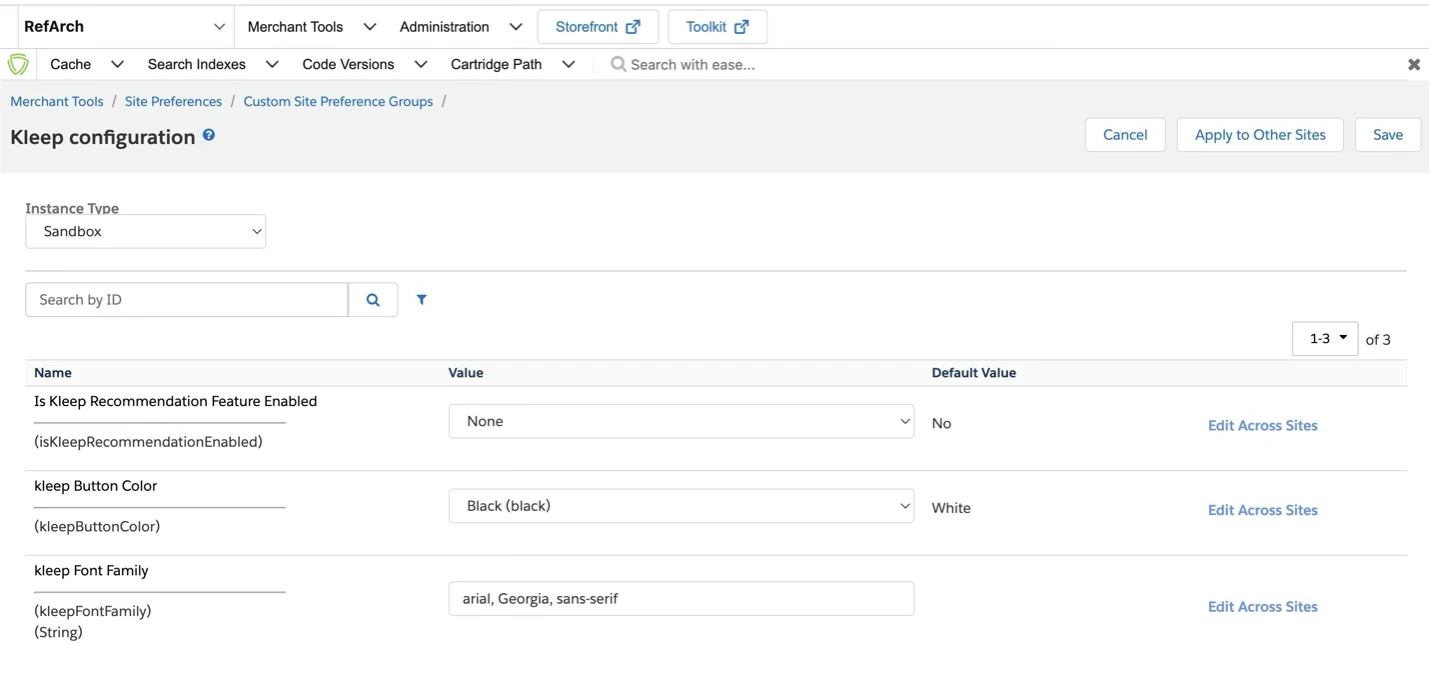
isKleepRecommendationEnabled | Enable/disable the Kleep button in PDP. Does not affect tracking or job exports. |
kleepButtonColor | Button color (Black or White). Override via CSS for custom styling. |
kleepFontFamily | Font family for the Kleep button and iFrame. |
kleepCountryCode | Market / Country Code (ISO 3166 A-2). |
Services
Found in Administration > Operations > Services: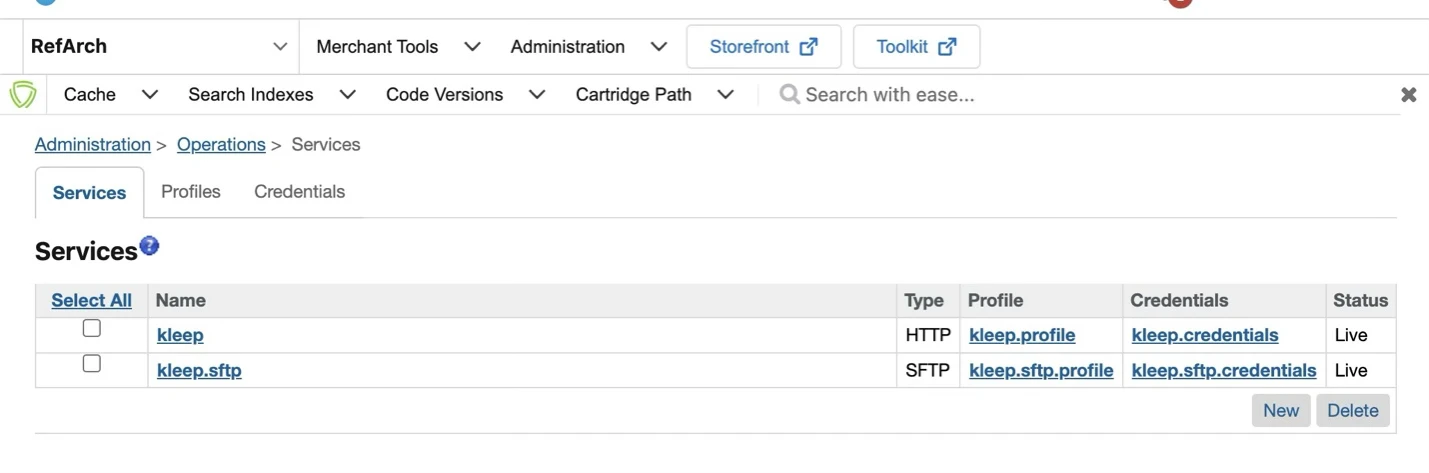
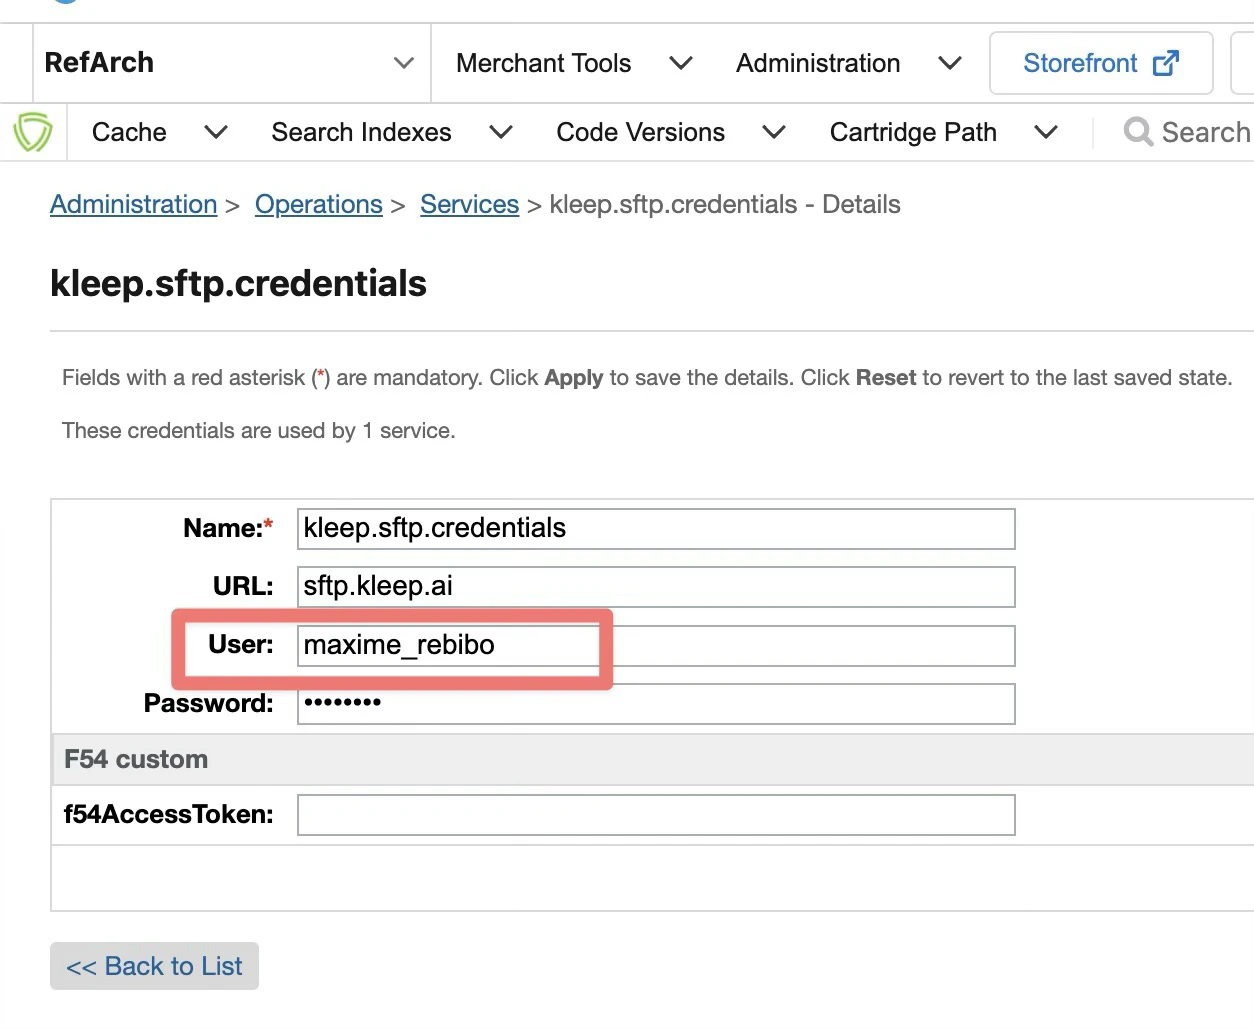
kleep.sftp — Sends export files from SFCC WebDAV to Kleep SFTP. Replace the user with the one provided by Kleep, along with the .p12 certificate. Don’t set any password.
kleep — Used for all other features. No user/password needed — the request is authenticated by the kleepRetailerUUID site preference, sent in the payload of every Kleep API call to resolve your account.
Private Key & Certificate
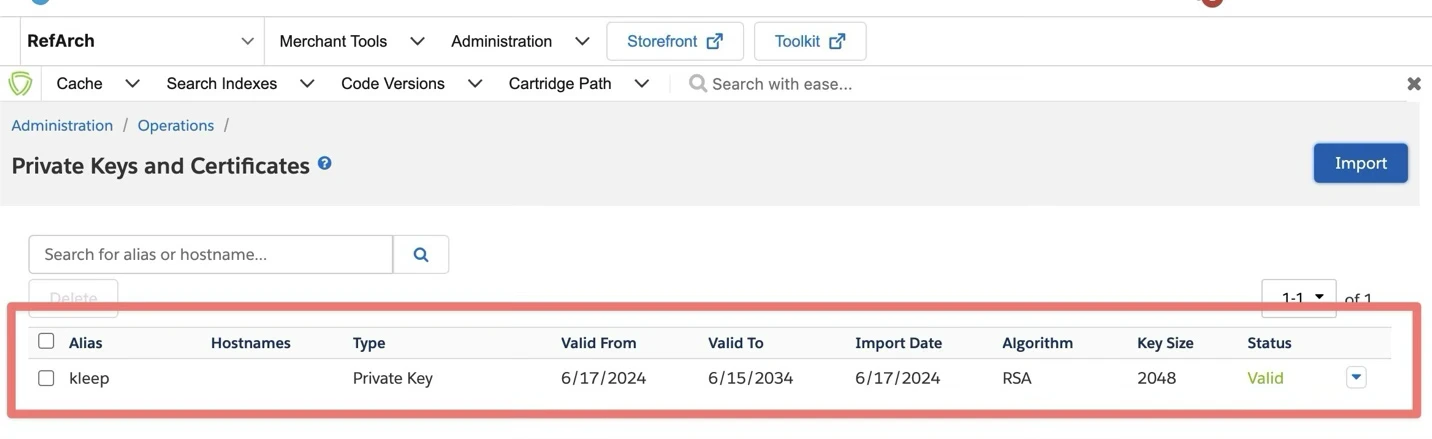
Go to Administration > Operations > Private Keys and Certificates:- Click Import
- Click Select and choose the
.p12file provided by Kleep - Use
kleepas the alias - Click Save
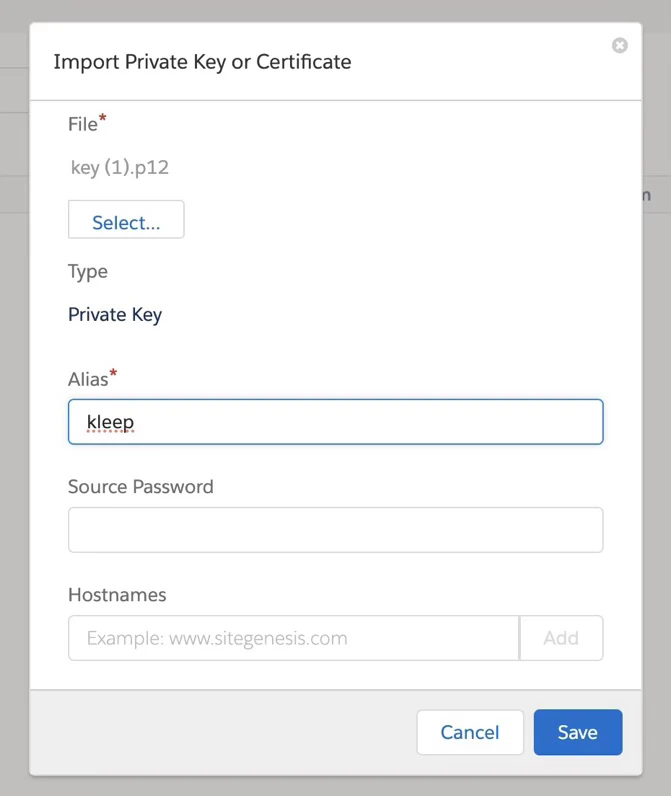
kleep:
Export Jobs
Go to Administration > Operations > Jobs. Two jobs are pre-configured:- KleepExportProductsCSV — exports your site’s products
- KleepExportOrdersCSV — exports your customers’ order history

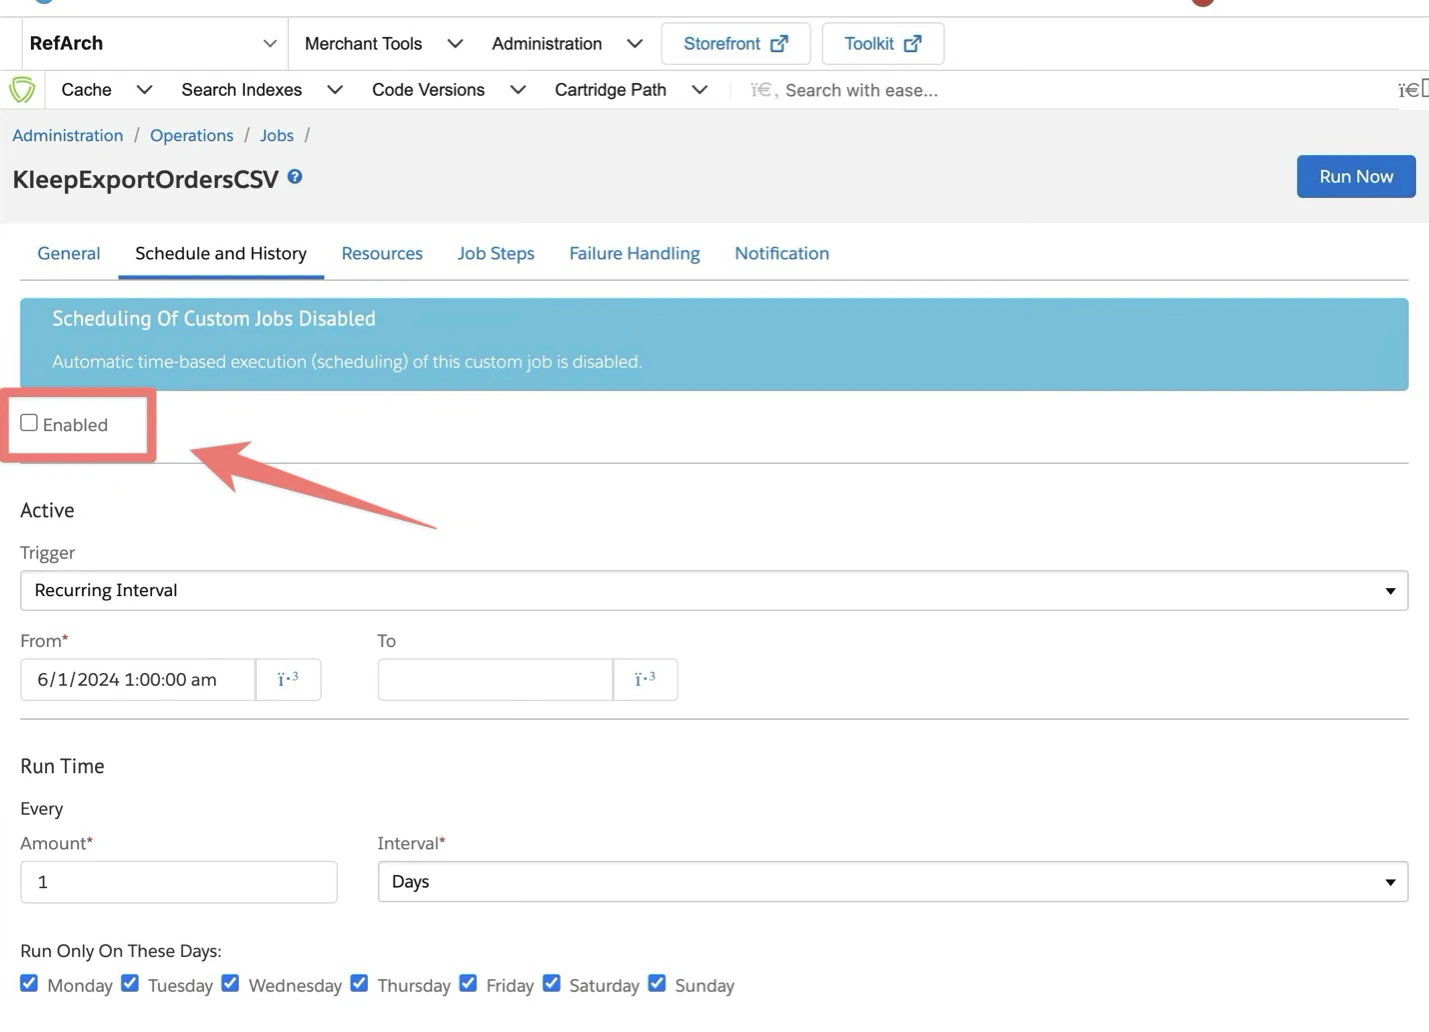
Common settings (both jobs)
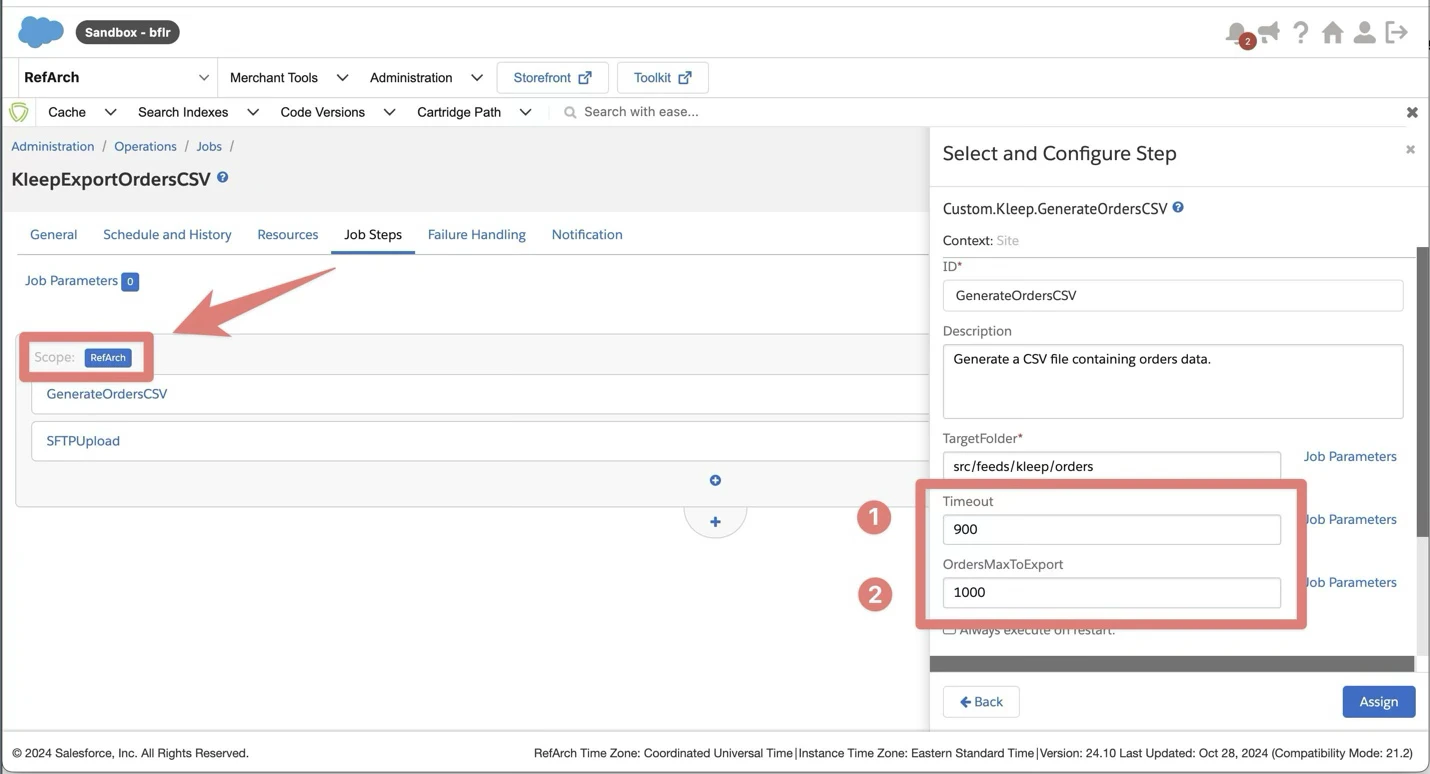
Go to the Job Steps tab → click RefArch to select the sites where you use Kleep.- Timeout — seconds before stopping the export
- OrdersMaxToExport — max orders to export (orders job only)
KleepExportProductsCSV settings
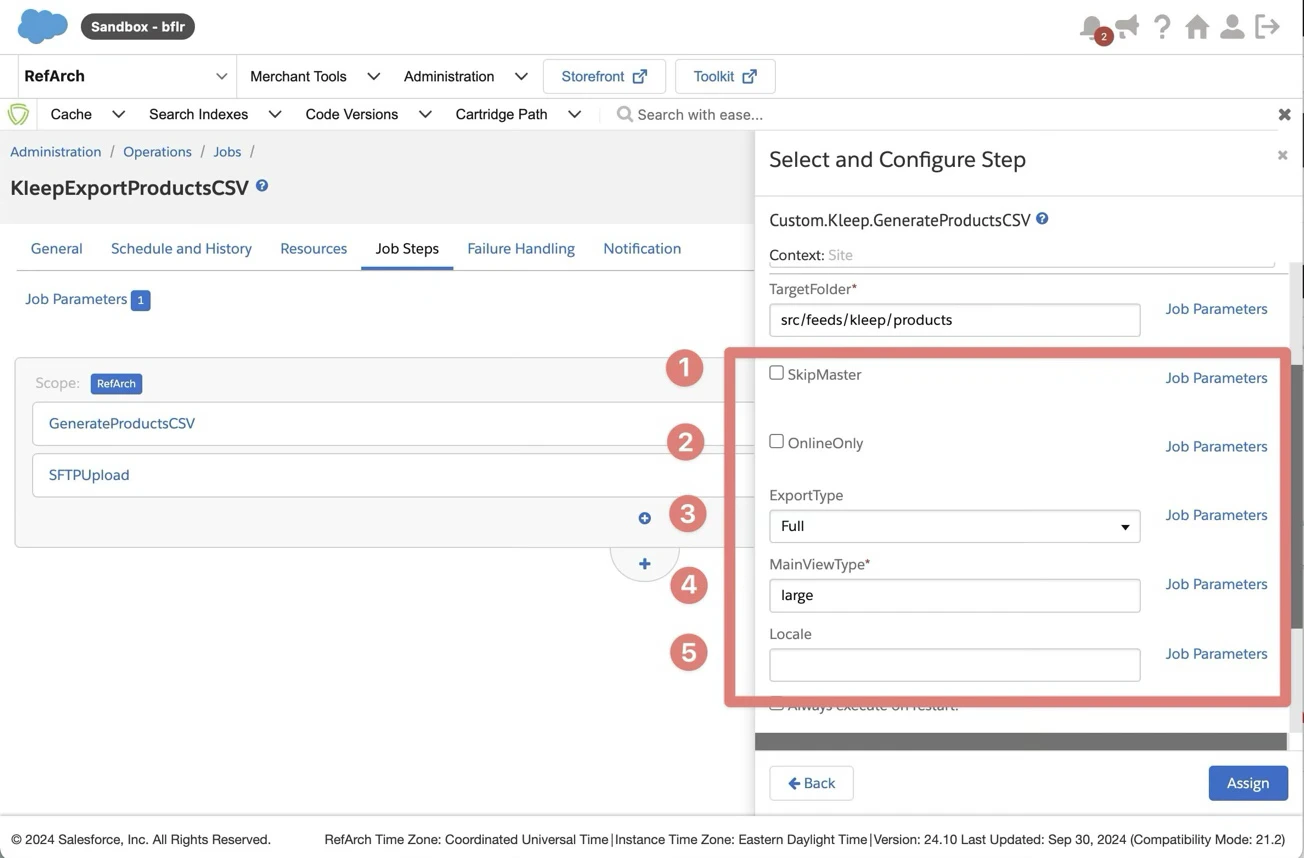
| Parameter | Description | Default |
|---|---|---|
SkipMaster | Ignore master product exports | Disabled |
OnlineOnly | Export only online products | Disabled |
ExportType | Delta (only updated since last export) or Full | Delta |
MainViewType | Image view type for product images. Use the same one as your PDP. | large |
Locale | Specific locale for export. Uses default if empty. | — |
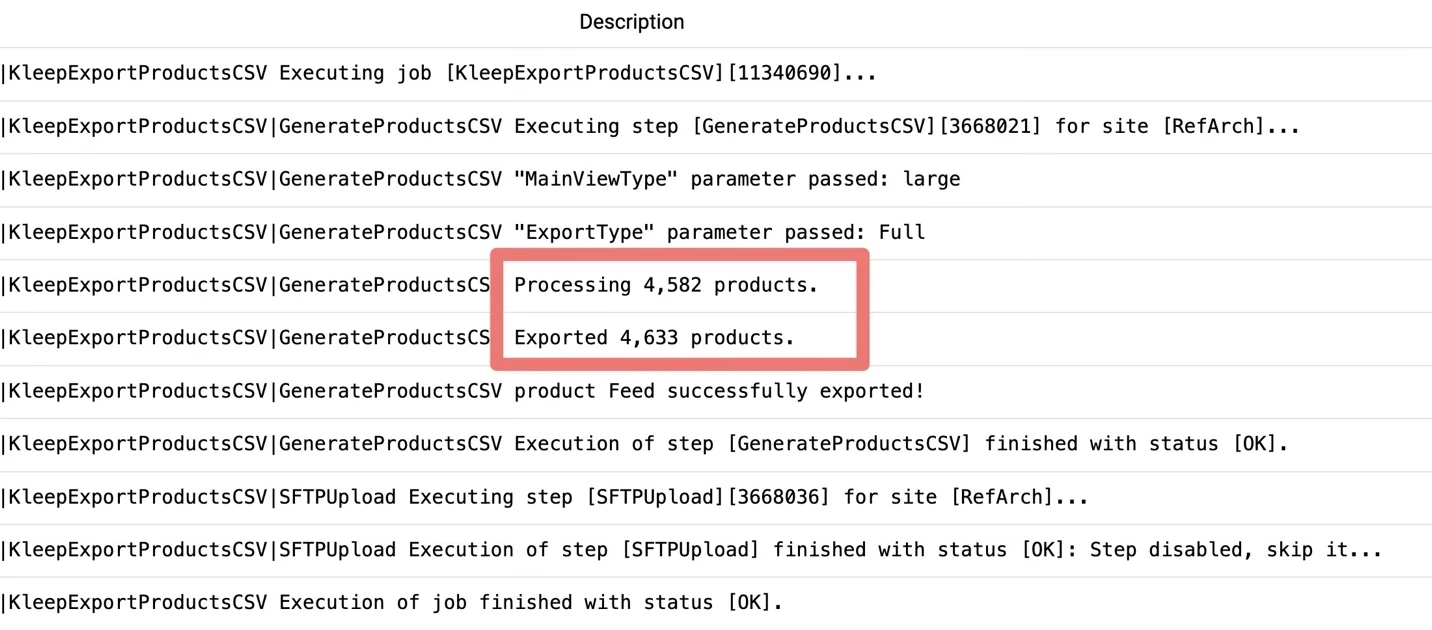
The number of exported products may exceed the number processed. This happens when uncategorized products are included through their association with a categorized VariationGroup.
KleepResetLastExported (utility job)
A third job, KleepResetLastExported, is provided to force a full re-export of orders. ItsResetKleepExportAttributes step clears the export-tracking attributes on every order (kleepLastExported → empty, isKleepExported → false) so they are picked up again on the next KleepExportOrdersCSV run.
It is disabled by default and meant to be run manually, on demand (e.g. after a Kleep-side data reset). It takes no parameters.
Live Stock Checks
Kleep queries stocks live to avoid recommending out-of-stock sizes. Configure access using one of the two methods below.Not sure which one to pick? OCAPI is the traditional approach using the Business Manager Data API. SCAPI (IAS) is the newer Salesforce Commerce API with the Inventory Availability Service. Ask your Salesforce administrator if unsure.
- OCAPI (Open Commerce API)
- SCAPI — Inventory Availability Service (IAS)
Use this if your instance relies on OCAPI for inventory management.Step 1 — Open OCAPI SettingsNavigate to Administration > Site Development > Open Commerce API Settings, then edit the Data API settings.Step 2 — Set Up Client IDFor testing:For production, generate a new client ID per the Salesforce documentation. Video walkthrough.Step 3 — Configure Resource AccessAdd this to your OCAPI Data API configurations:Step 4 — Send credentials to Kleep
- Client ID
- Client Secret
- Inventory IDs (one per market — provide your mapping)
- Production SBX URL (stock checks are enabled on production only)